Use & Care
We know where you are coming from. We consider ourselves to be partners with you in your career. Scissors are an investment, and we don’t want you to need to replace your shears prematurely. With proper care, your Evolution Shears should last many, many years.
Tips for Prolonging the Life of Your Shears
We manufacture our shears using the finest 440C Japanese surgical stainless steel. Because of its high Rockwell Hardness rating of 59-61, they should “take a licking and keep on ticking.” You can help by keeping the following tips in mind:
1. To clean your scissors:
Use a soft brush to clean hair from the pivot point.
Clean blades with a cleaner and soft cloth.
Keep blades dry so they don’t rust or corrode. Even “stains-less” steel can corrode.
Apply a thin coat of oil to prevent corrosion.
2. Test tension every day.
When tension is too loose, you must “grind” the blades together to make them cut. This will wear out the inside edges and dull your blades prematurely.
3. Use a drop of oil
(Scissor or blade oil is fine) on the black rubber swivel washer and the back of the scissor pivot screw. This will keep parts from drying out and cracking.
4. If your scissors drop and become nicked, put them down and pick up a different pair. If you try to keep using them, the nick will become deeper, requiring more metal to be removed from the blade to fix it.
5. ALWAYS USE A QUALIFIED, PROFESSIONAL SHARPENER.
Although we recommend using our sharpening services to keep your shears working like new for as long as possible, you don’t have to use us or anyone we designate. Please ensure your sharpener uses a flat hone machine and doesn’t use a grinder. That being said, there are still no guarantees that the sharpener who walks in off the street, promises you the moon, and offers to sharpen a pair for free if you try him won’t also hurt your scissors. The wrong sharpening will ruin the edges, and your scissors will never feel or cut the same. It will also take years off the life of your shears.
That damage is not covered under our warranty. So, please be careful.

HELPFUL VIDEOS!

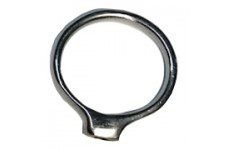
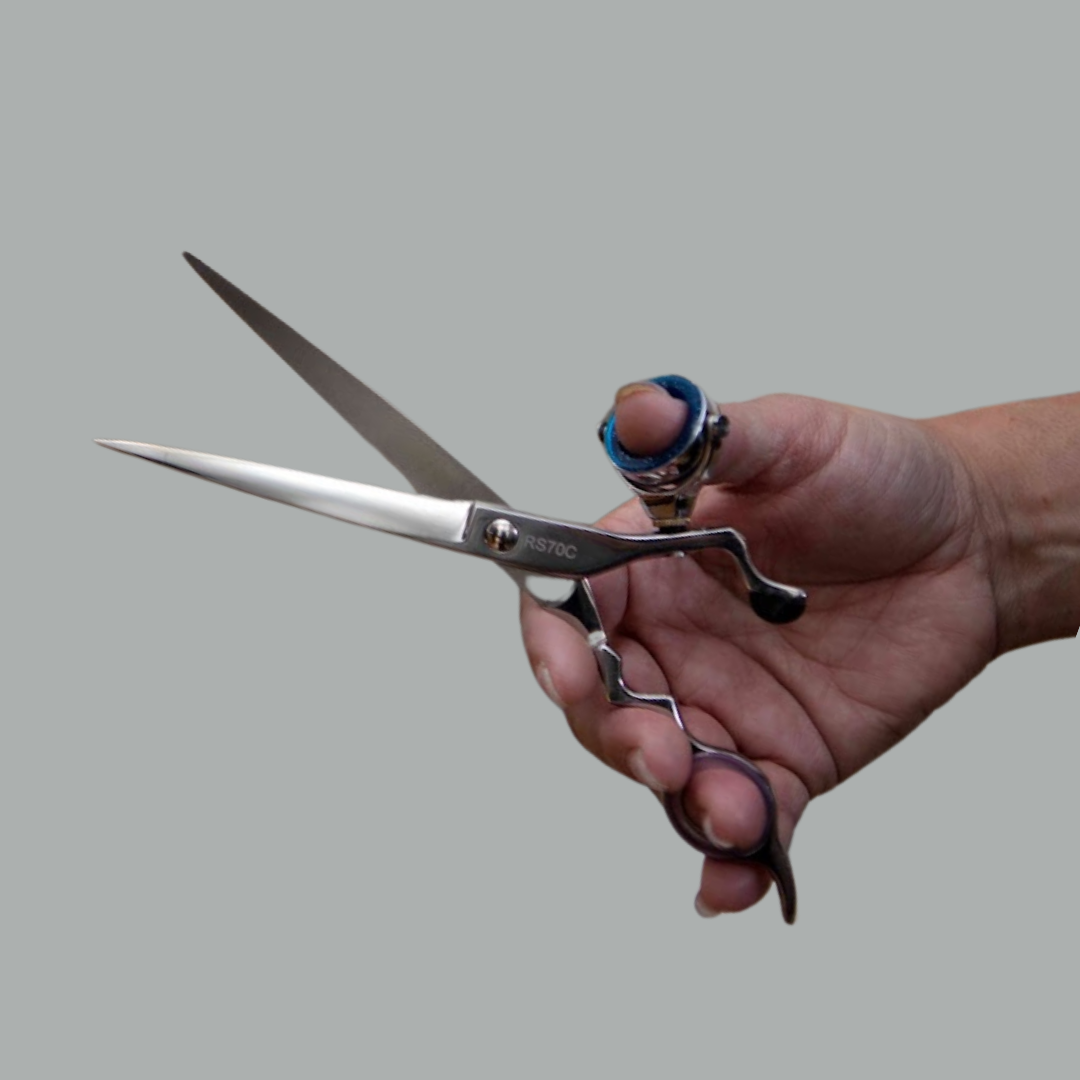
Swivel Installation Instructions
To Unlock the Swivel for Removal From the Shears:
Hold the brass washer still with a needle nose plier or hemostat.
While holding the brass washer still, loosen the swivel (turn to the left) until the swivel unlocks and can be removed from the screw.
Remove the brass washer and the black rubber washer. BE CAREFUL NOT TO LOSE THE PIECES!
To Lock the Swivel onto the Shears (For Swiveling):
Install the screw in the hole of your choice.
Put the black rubber washer on the screw up to the shank of the scissor.
Install the brass washer on the screw just tight enough so that there is no wiggle but not so tight that the black rubber washer is compressed.
Screw the swivel onto the screw just up to the brass washer. Hold the brass washer still with a needle nose plier.
While holding the brass washer still with a needle-nose plier or hemostat, tighten the swivel (turn to the right) until it stops turning and locks tight against the brass washer.
To Lock the Swivel onto the Shears (For Non-swivel):
Install the brass washer back onto the screw, all the way up to the shank of the scissor.
Install the thumb ring back onto the screw.
Tighten both up to the shank of the scissor until the thumb ring is facing at a comfortable angle.